CC3200 SimpleLink Wi-Fi® SoC
The CC3200 is a single-chip microcontroller unit (MCU) with built-in Wi-Fi connectivity. Created for the Internet of Things (IoT), it integrates a high-performance ARM Cortex-M4 MCU, allowing he development of an entire application with a single IC.
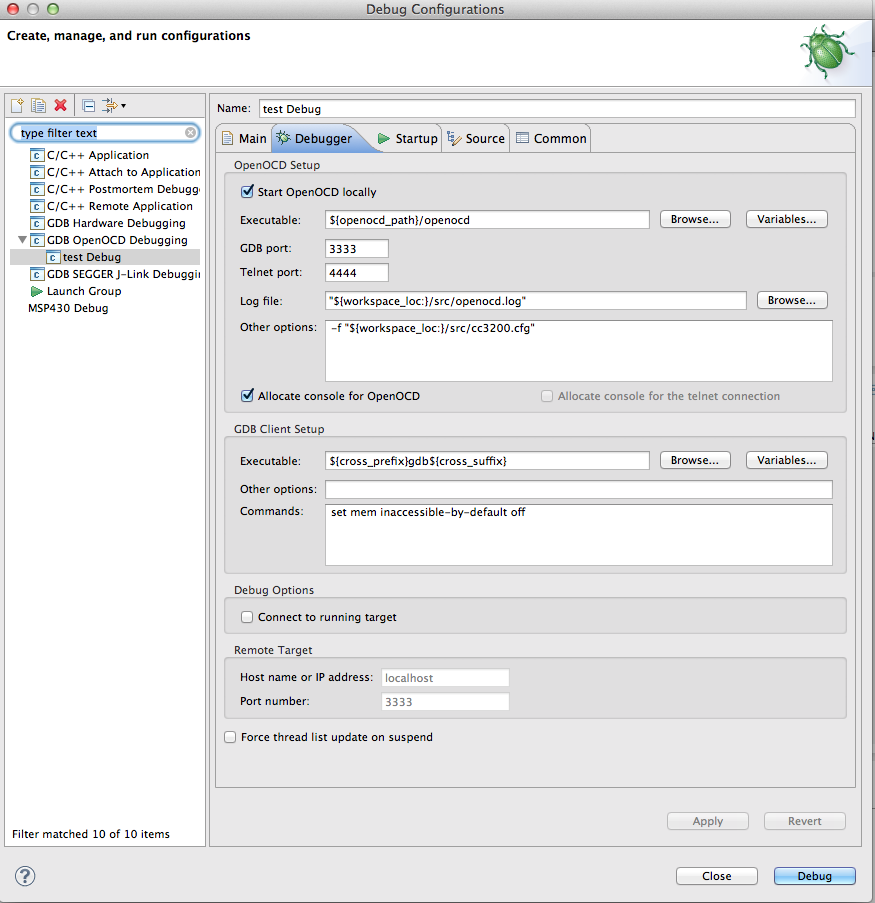
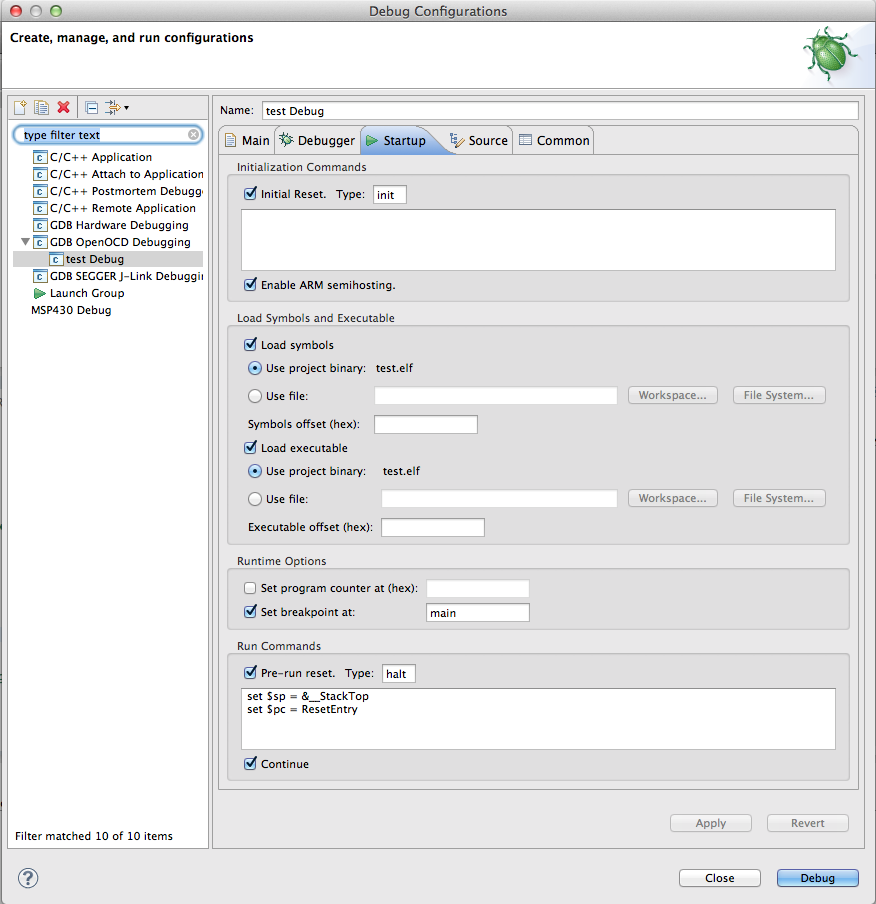
Software development environment with Eclipse & GCC
As usual the IDE of choice for all my embedded software development is Eclipse. It is completely free and have a lot of support for many processors. First thing first, follow my Eclipse page to setup the Eclipse IDE and plugins for ARM based development. Next step is to clone the EHAL source tree. This can be done using git command line tools or use SourceTree from this site http://www.sourcetreeapp.com. github : https://github.com/I-SYST/EHAL
Once the source tree is cloned. We need to get the TI CC3200 SDK from ti.com. Put the SDK in the cc3200_sdk folder in the CC3200 Eclipse workspace. The development source tree should look like this :
/your_root - Development root directory
|-- include - Generic include common to all platform
|-- src - Generic source common to all platform
|-- ARM
| |-- include - Common include for all ARM platform
| |-- src - Common source for all ARM platform
| |-- CMSIS - ARM CMSIS SDK for all ARM platform. Download it from ARM
| | |-- CMSIS
| | |-- CMSIS RTX
| |-- TI
| | |-- CC3200 - CC3200 processor workspace
| | | |-- CMSIS - static library of CMSIS system functions for CC3200
| | | |-- EHAL - Embedded Hardware Abstraction Library project for CC3200
| | | | |-- include
| | | | |-- src
| | | |-- cc3200-sdkc - TI cc3200 SDK
| | | |-- exemples - example projects are in here
We now have a Blinky example working. The CC3200 and it's SDK is very complex to work with. This is slow progress as I am busy other things. I'll keep updating as much I can.
Creating Eclipse project
To create a new CC3200 project with Eclipse, select New from the File menu then select either you want C or C++ project. In the dialog, select the project type 'Hello World ARM ..." with toolchains 'Cross ARM GCC'.
Once the new project is created. Open project settings dialog. Change the target processor to Cortex-M4.
Once the new project is created. Open project settings dialog. Change the target processor to Cortex-M4.


No comments:
Post a Comment